Automate Excel with Microsoft Lists, Power Automate and OneDrive
How to automate an excel template using Power Automate, Microsoft Lists and OneDrive

In this article we are going to use Power Automate, Microsoft Lists and OneDrive to automatically populate an excel Template.
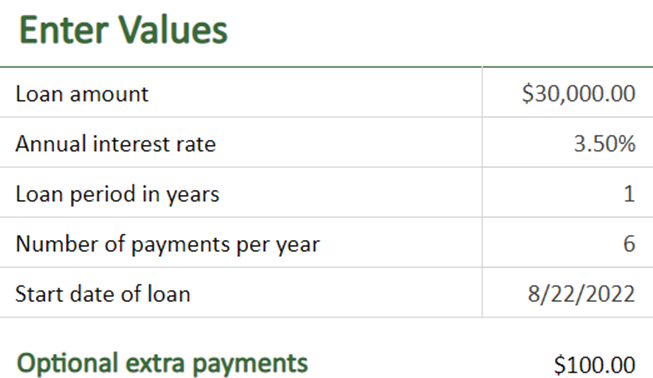
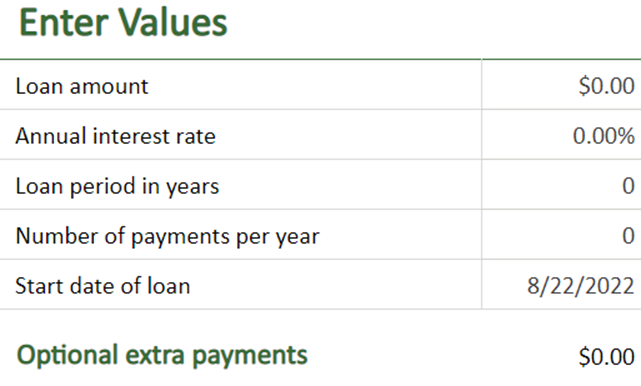
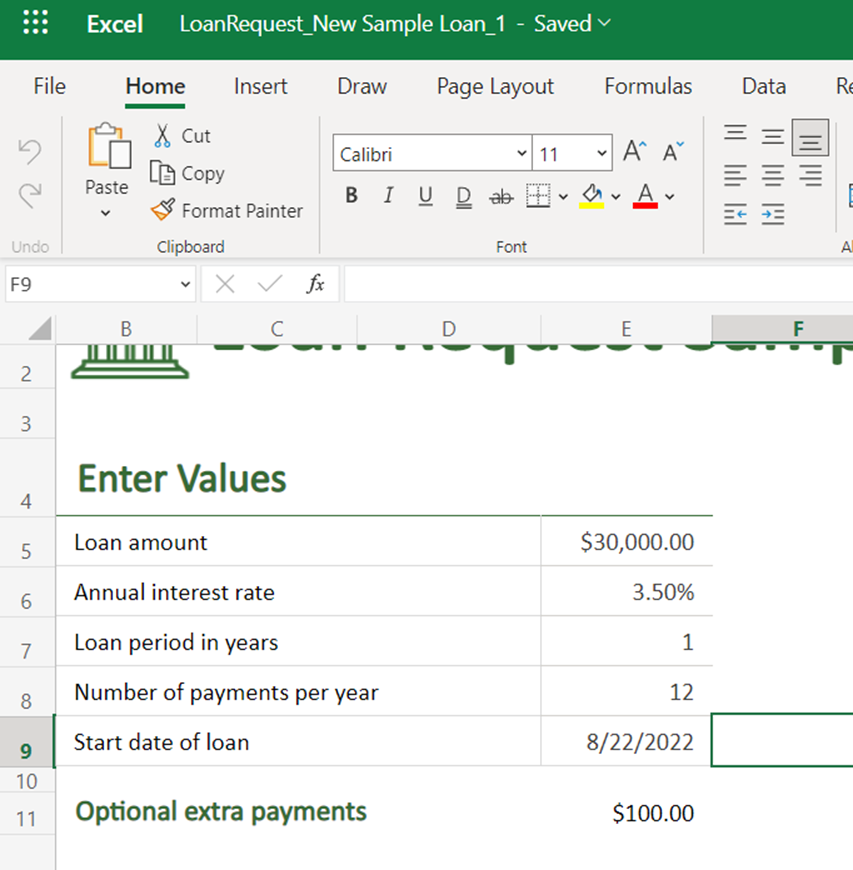
For our example we are going populate the following excel template:
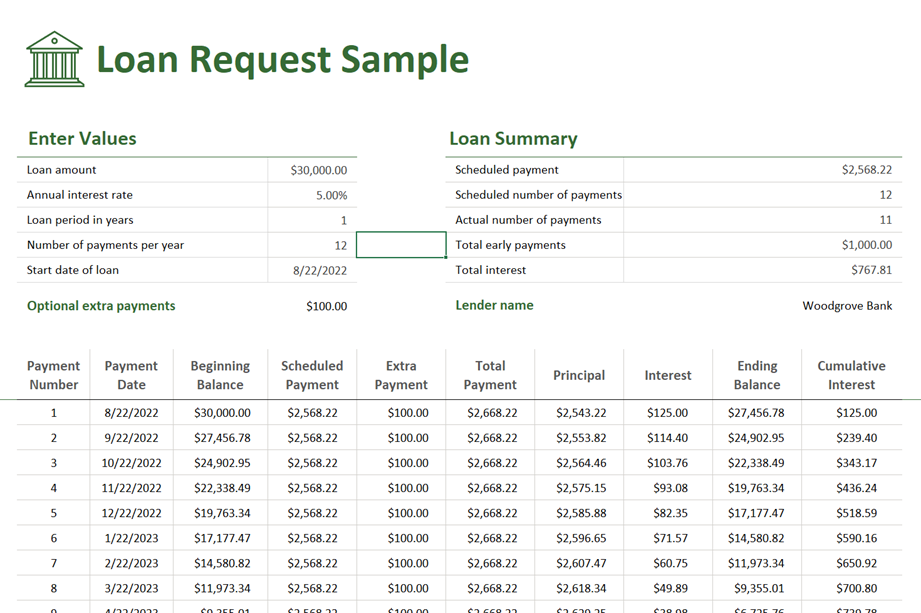
Note: this is one of the free templates provided in the Excel Desktop Application.
To start the process, we must first upload the excel document to either OneDrive or SharePoint, in this article we are going to use OneDrive as an example. Once we finish uploading our document a new tab called Automate will be displayed
For this tab to be displayed you must have a compatible Microsoft 365 License

Now to start the automation process we need to decide the cells that will be automatically captured by power automate, in this case we will be capturing the following table:

The rest of the file is automatically calculated based on this table.
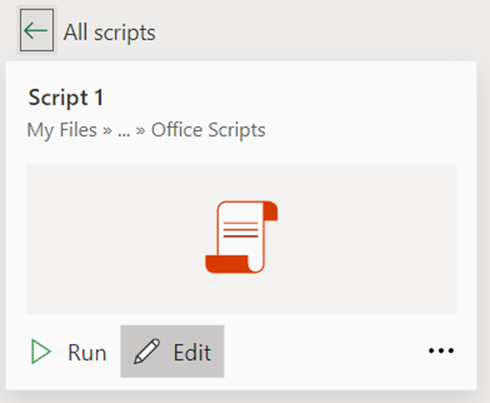
Let start by adding a new blank sheet to the excel file:
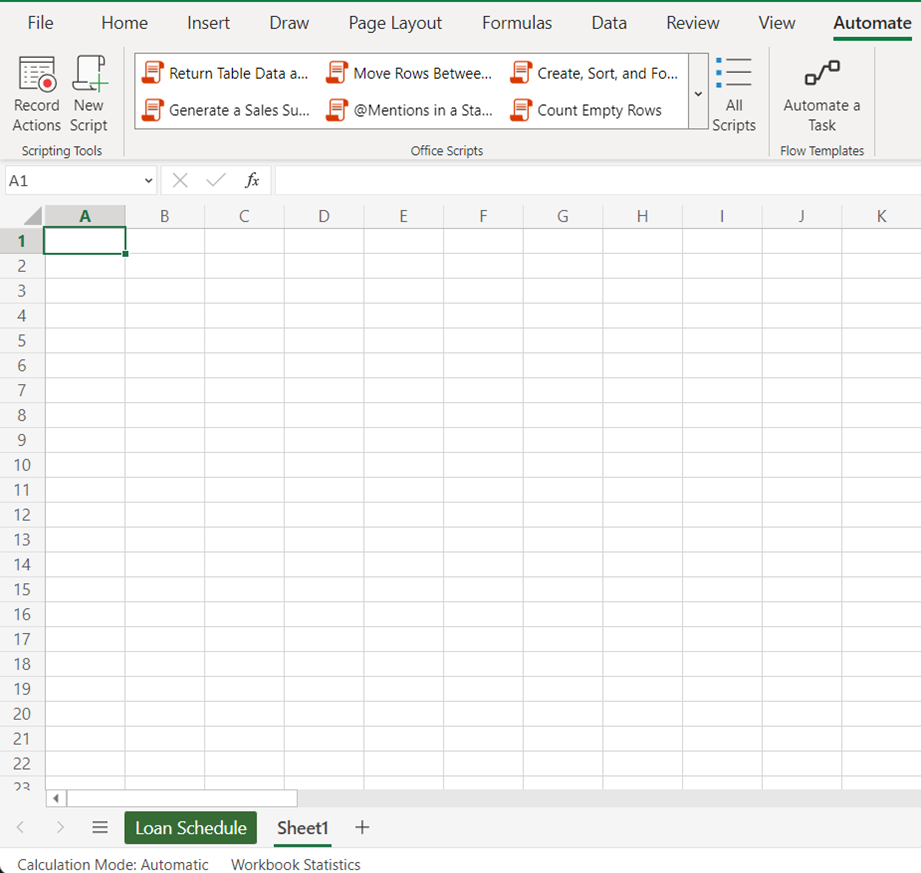
Next click on the Automate Tab click Record Actions
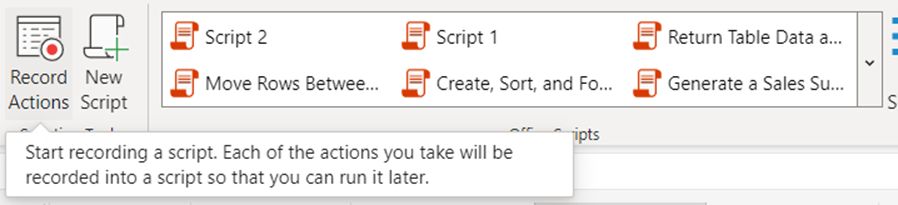
A new panel will be displayed on the Left side of the screen:
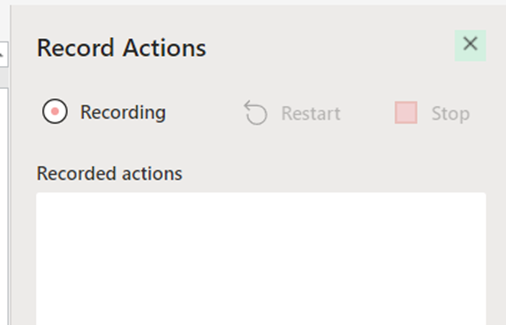
Every action we perform on the workbook will be recorded and listed on this panel, so lest begin by going back to our original sheet, this will help the script find the correct worksheet to work with.
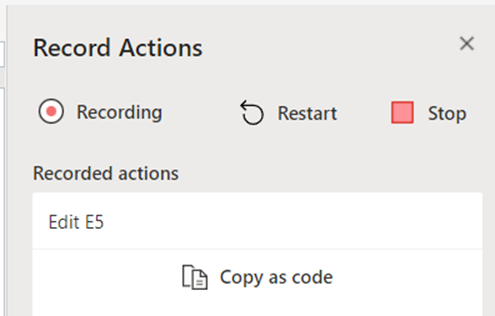
Next let’s start editing the worksheet cells

And on the left panel we can see our action recorded:
Let’s continue editing the rest of our excel data.
And our left panel will look something like this:
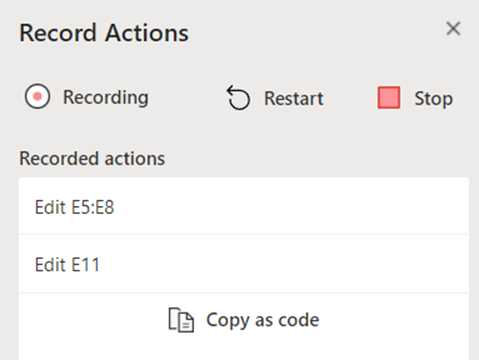
Let’s stop the recording and click on edit so we can review the recorded script
Script Editor:
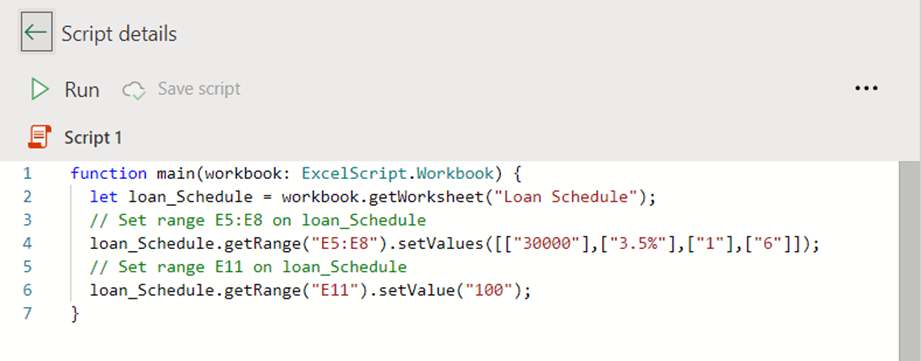
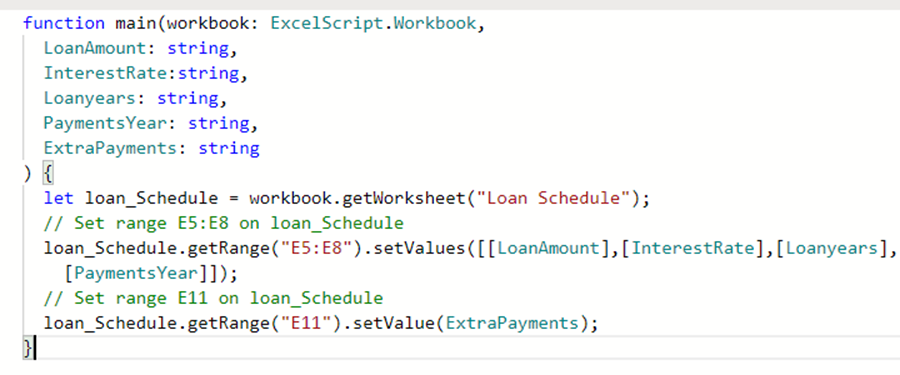
From this section we start finding the values that were captured on the excel file, here we can have an idea of how we can make more complex automations, for now let’s add some variables to the main function so it will look like this:
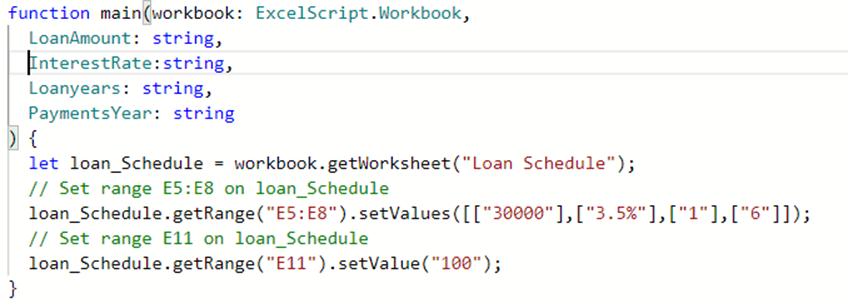
Now that we have our variables lets add them to the corresponding place on the script, our final product will look like this:
And let’s replace the scripts name with a more friendly one,

Finally let’s clean the values of our excel template:
Before we continue to Microsoft Lists and Power Automate let’s go back to one drive and create an output folder, this is the location all our new excel files will be created to:

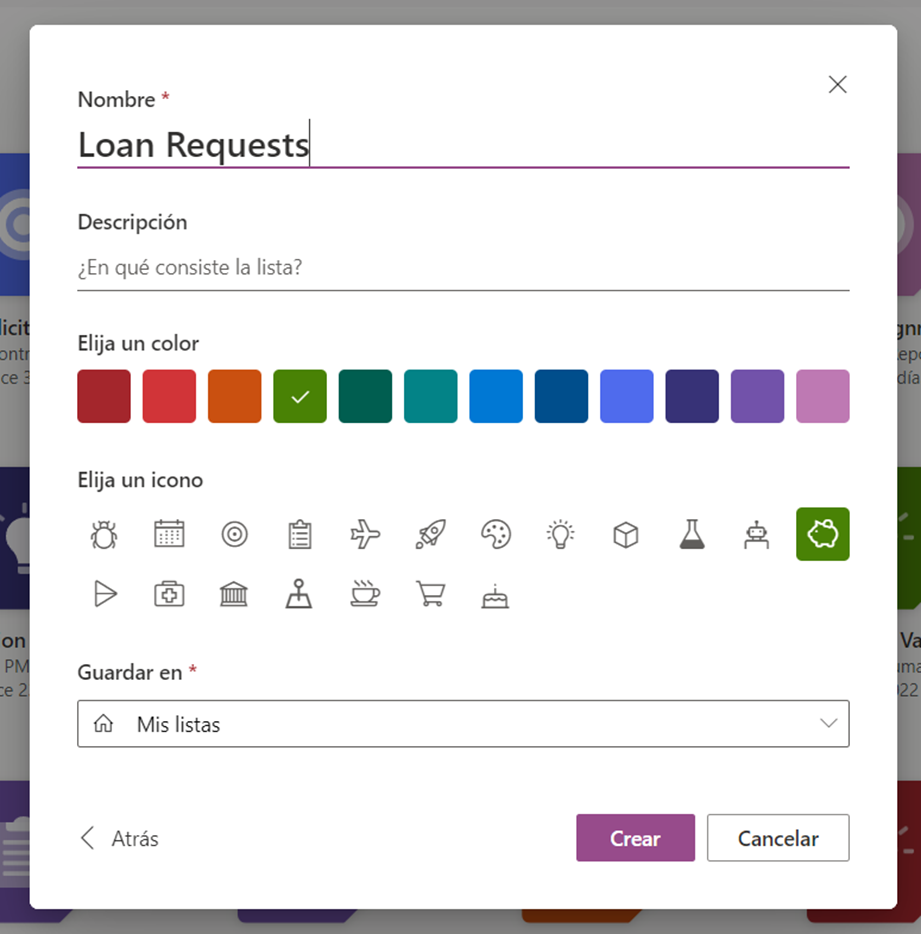
Now let’s go to Microsoft List and create a list called Loan Request

Now on the newly created list add 5 Columns called:
· Loan Amount
· Interest Rate
· Loan Years
· Payments per Year
· Extra Payments
Our list should look like this:
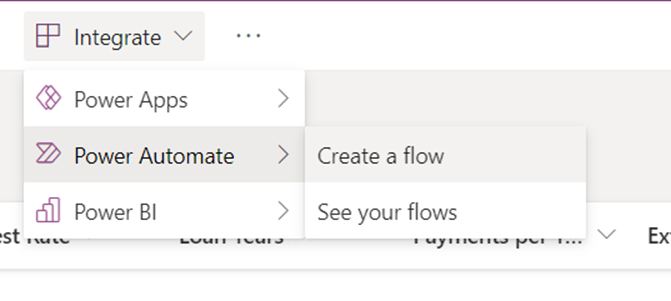
Now on the top Integrate Button lets click Power Automate -> Create Flow
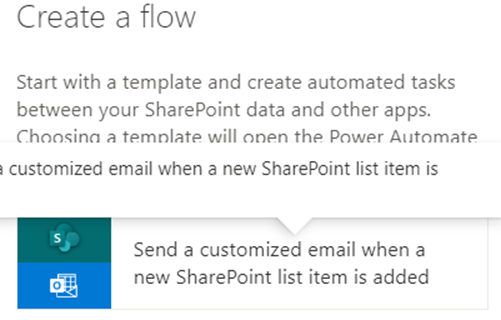
Let’s select the basic template Send a customized email when a new SharePoint list item is added we will modify this template to modify our excel file, on the next screen click Create
Once we are in Power Automate click on Edit
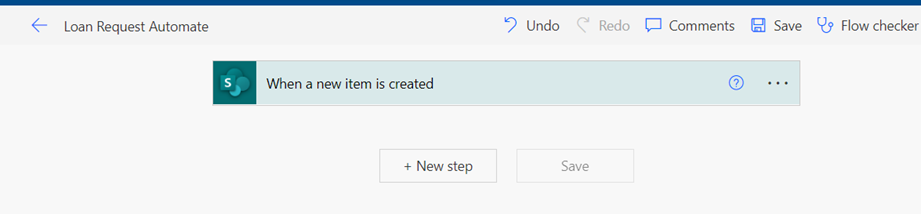
Once we are on the edit screen the first thing, we are going to do is rename the flow, lets name it Loan Request Automate
Let’s clean up the flow and delete everything after the “When a new Item is created” action, should look something like this:
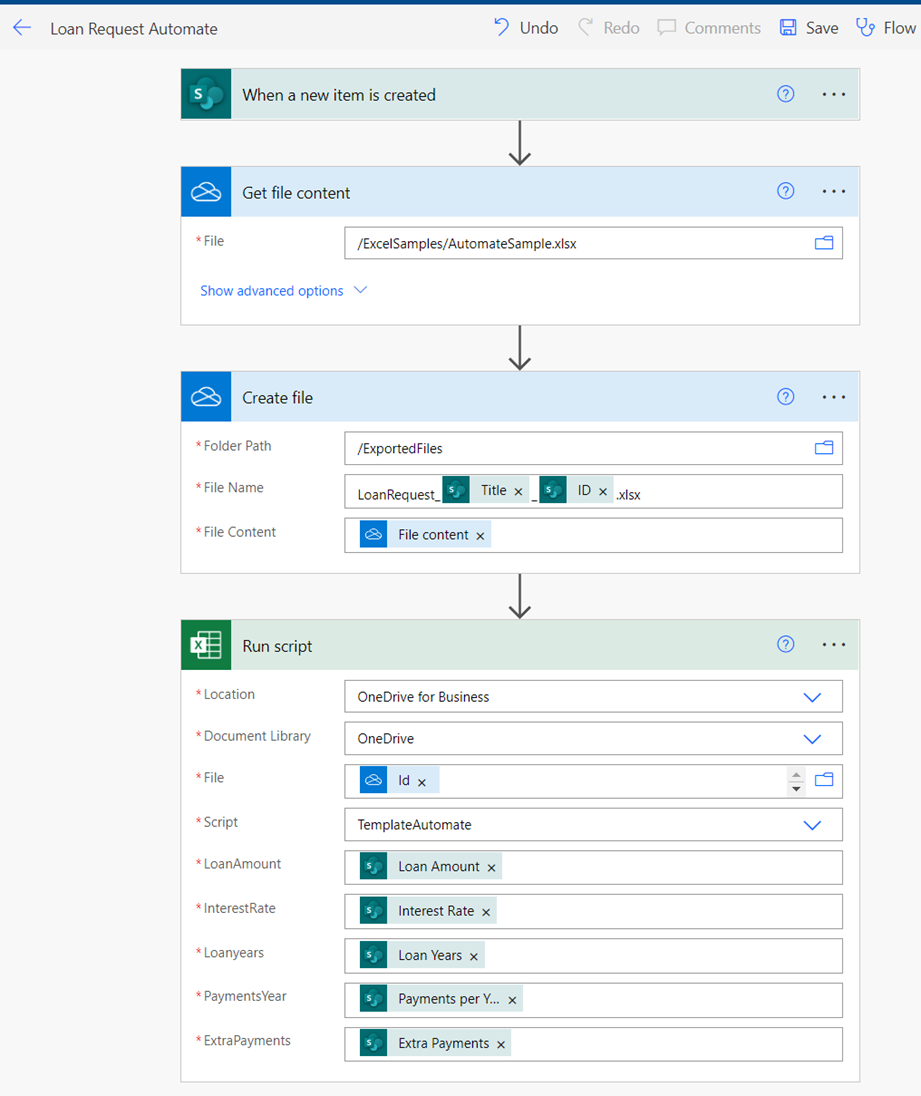
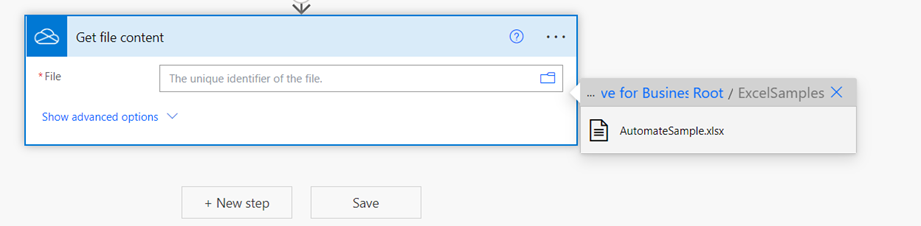
Let’s add the One Drive action called “Get File Content” and select the excel file template.
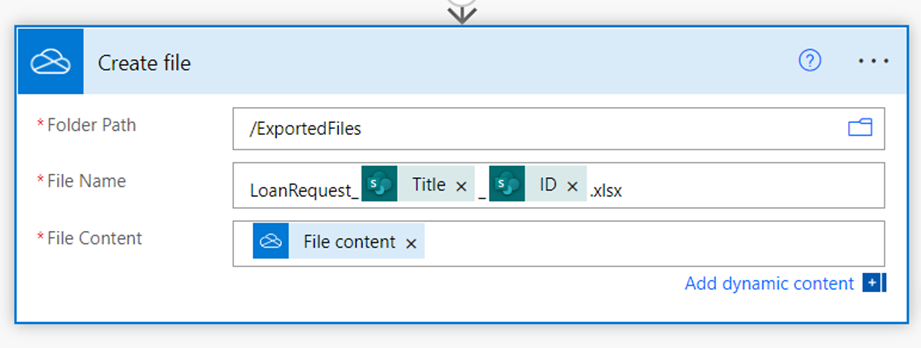
Add anew OneDrive action called Create File the variables for this action will be:
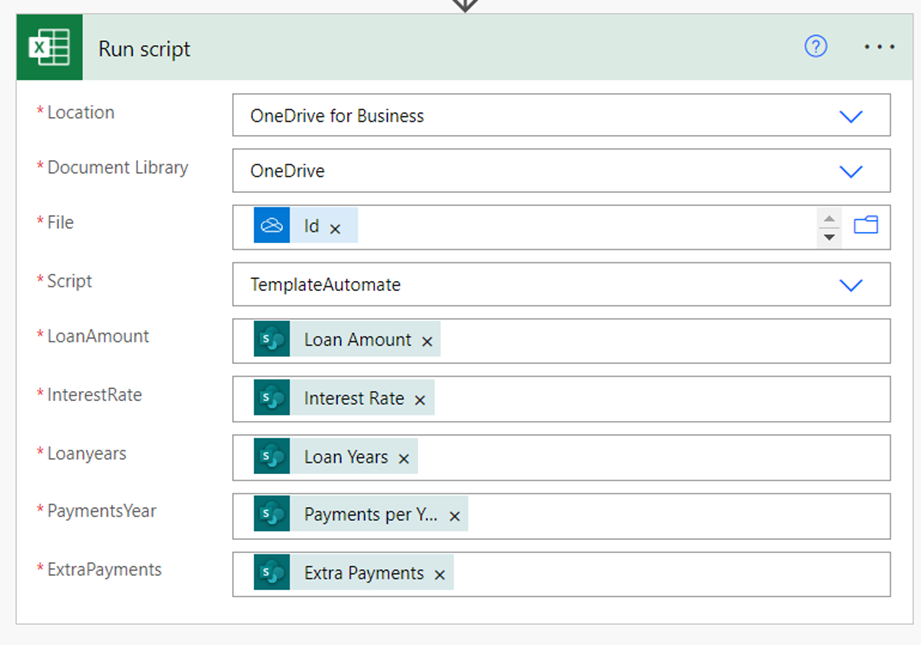
Now add an Excel action called Run Script, with the following setup:
And that’s it, now every time we add a new element to our list a new file will be generated on the output folder.
Microsoft List Data:

One Drive Folder:

And finally Excel data:
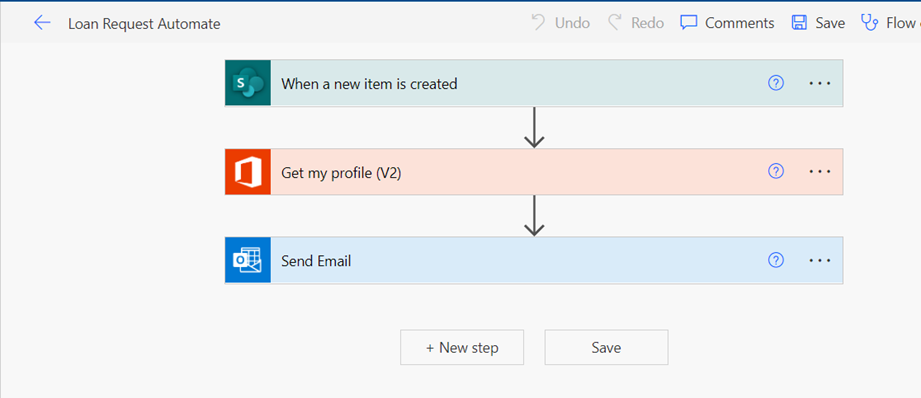
Full flow overview: