Power App - create and install a custom component (PCFx)
How to create, package and import a custom code component PCFx.


Code components are a type of solution component, which means they can be included in a solution file and imported into different environments
In this article I will explain how to create a custom code component(I will explain the detail of the component in another article) in this article the most important thing is to show the commands and elements we need to start working.
Requirements
1.Node JS(version 18.16.0)
In my case I am using NVM , use the next link if you want to know how to use it.
 juanpvy
2. Power App CLI
You can download the .msi file from here.
3. Visual Studio 2022
Let get started
First of all I need to create a folder, in my case "InaRadarChart".
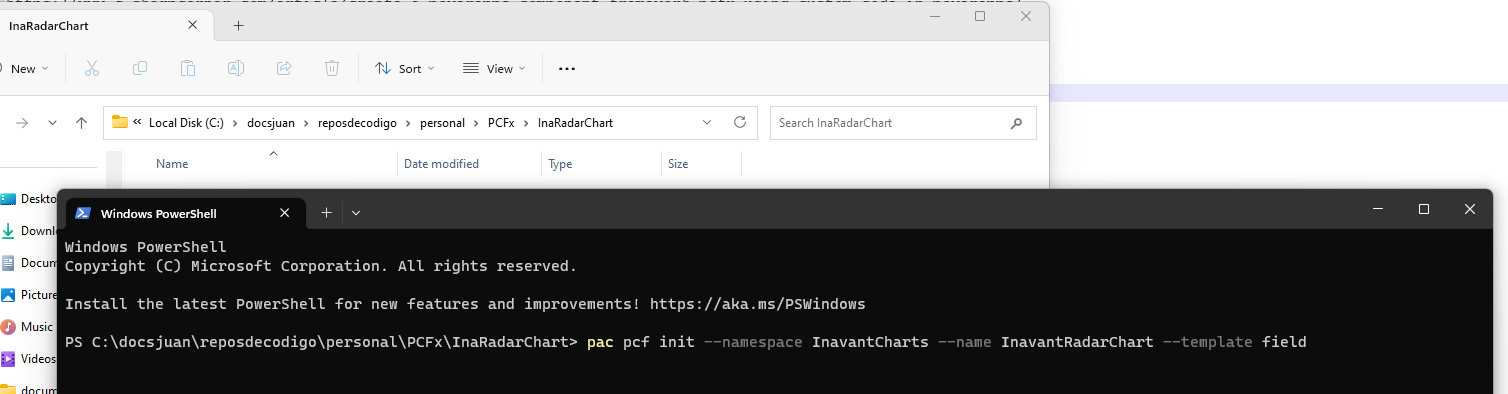
I'm going to open the folder in a Terminal and run the code.
pac pcf init --namespace InavantCharts --name InavantRadarChart --template field
Many new files will be created.
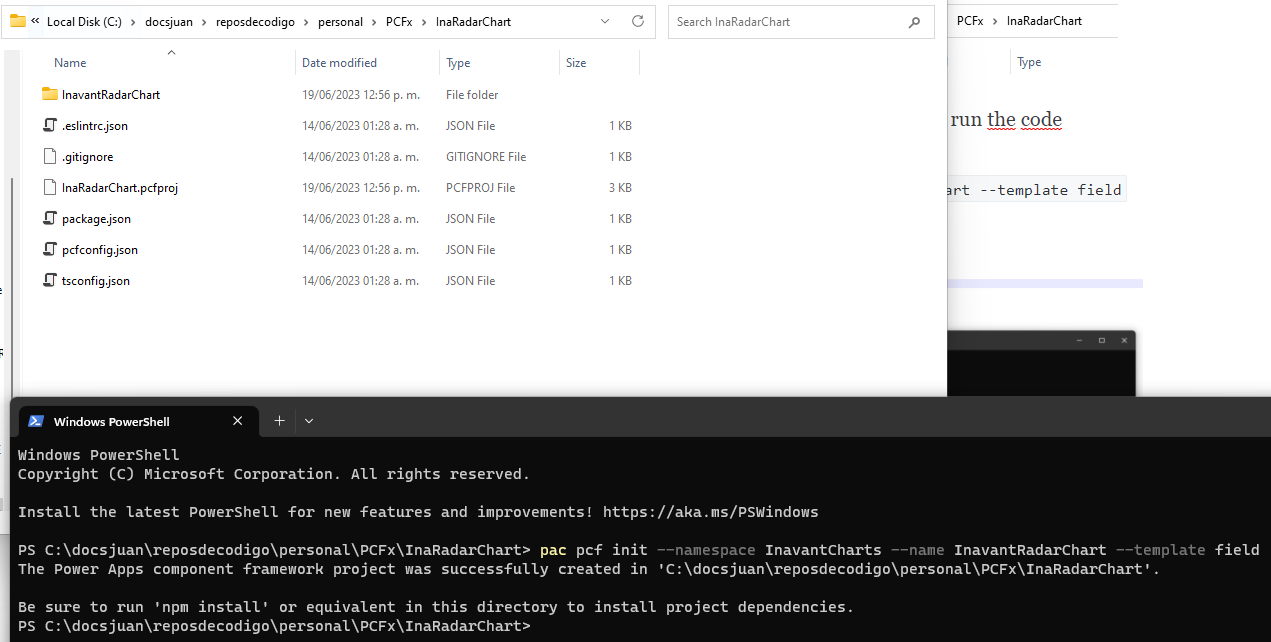
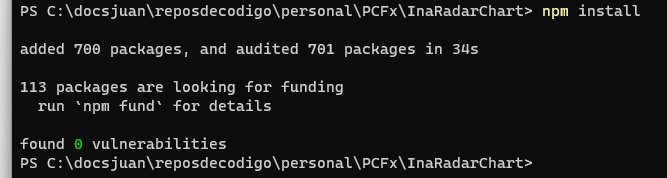
Run "npm install"
Now you can open the folder with any IDE, I'm using Visual Studio Code.

Custom code
Rename the default property from "sampleProperty" to "radarChartConfiguration" in the "ControlManifest.Input.xml" file.

Any change on this file we must execute:
npm run refreshTypes
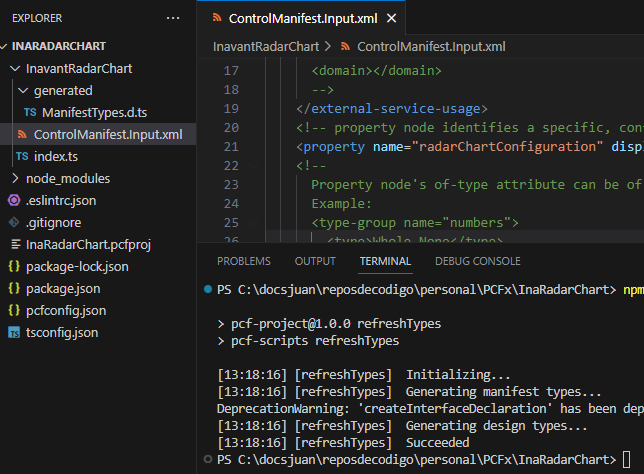
That command updates the "ManifestTypes.d.ts" file.
The next step is add the code on the "Init" and "UpdateView" methods to insert the HTML to display.
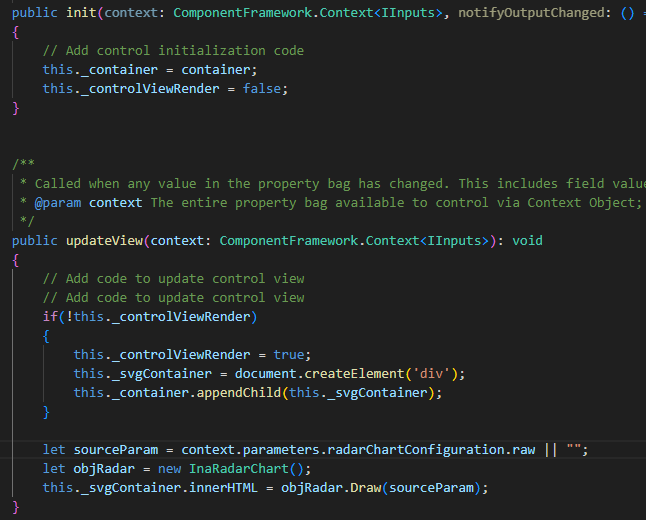
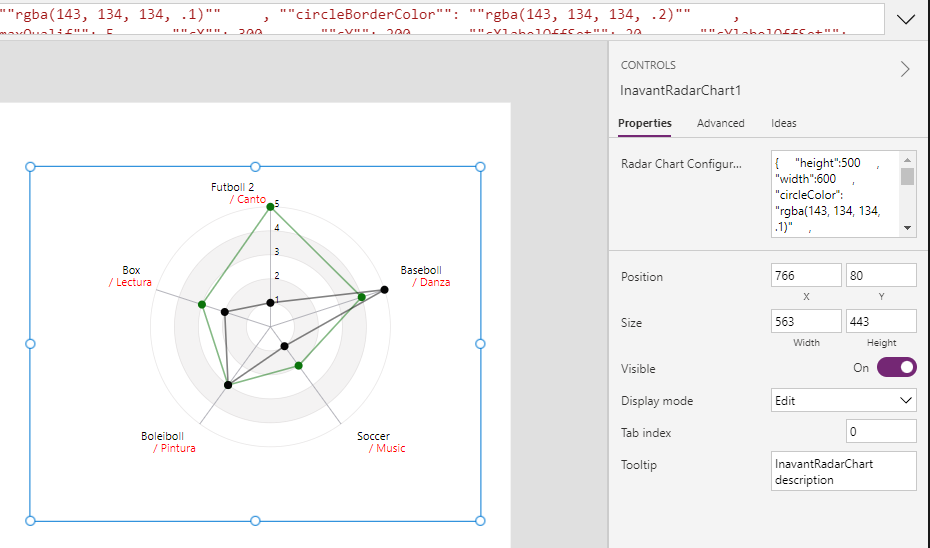
As you may notice, "In Radar Chart" contains the logic to create a radar chart using a JSON configuration, we explain that component in another article.
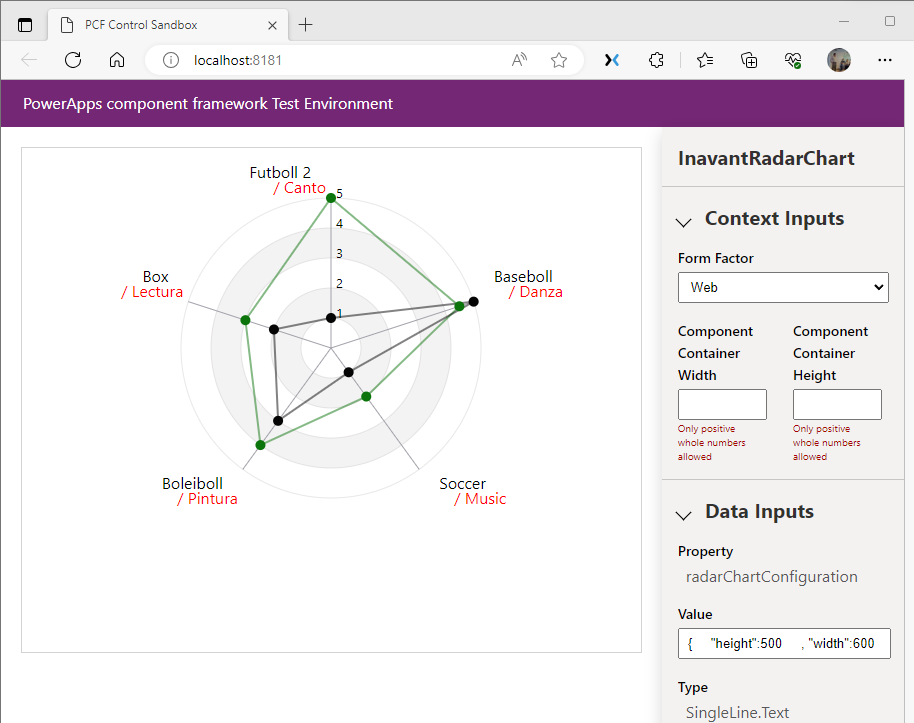
Run the following code to test it.
npm start
A local browser will be opened and capturing the correct JSON parameter the chart will be displayed.
Packaging
Create a folder for the solution package
Enter to this folder and execute the command
pac solution init --publisher-name Inavant --publisher-prefix ina

Now execute the next command
pac solution add-reference --path C:\docsjuan\reposdecodigo\personal\PCFx\InaRadarChart

Execute the next code
msbuild /t:restore
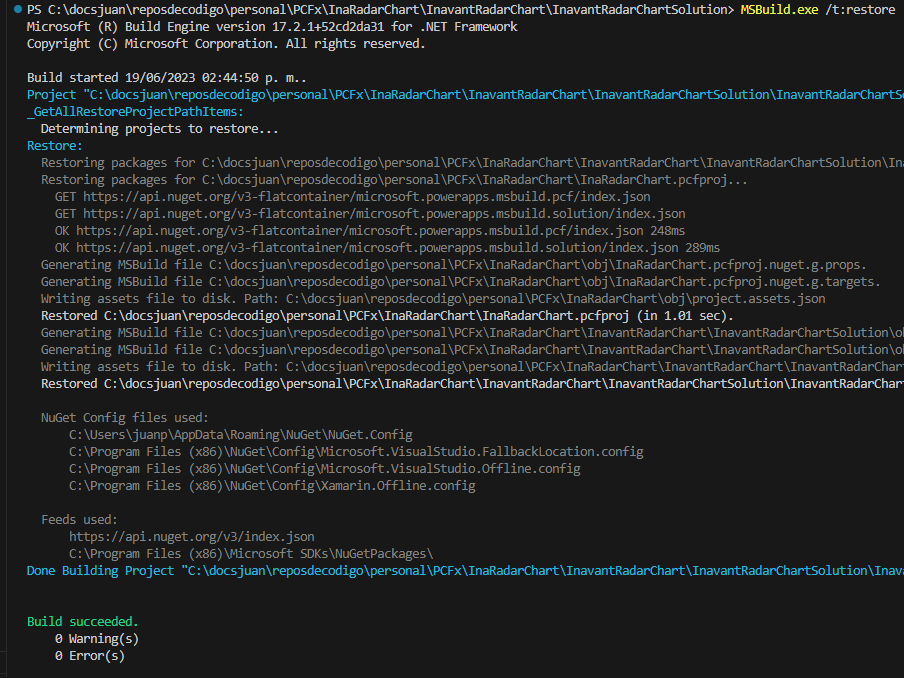
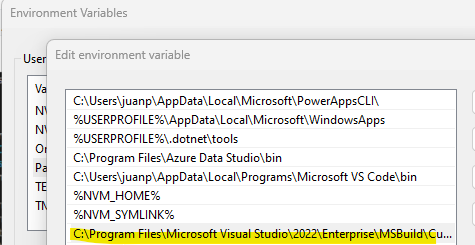
In case the "msbuild" command doesn't work, make sure you have the "PATH" environment variable set.
Run again
msbuild

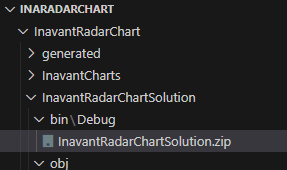
Here we have the package created
Install package
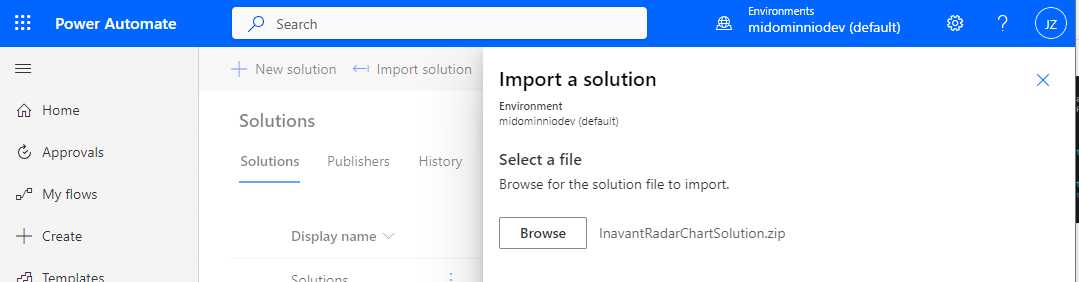
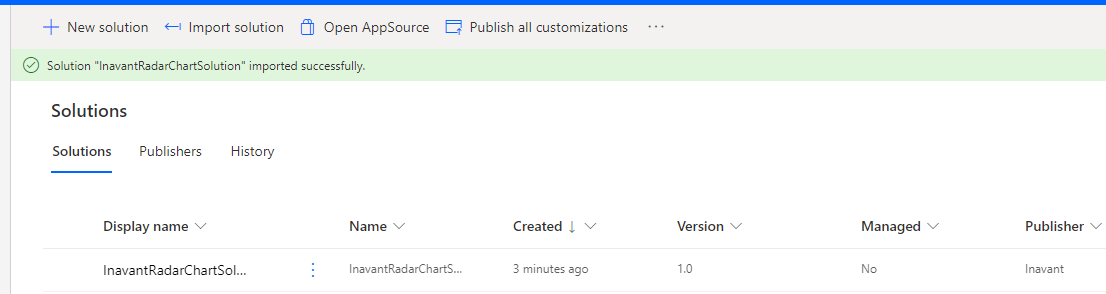
Navigate to https://make.powerautomate.com/ and on "Solution" seccion clik on "Import a solution" and selecte the ZIP file created and click on "next" then "Import".
After a few seconds here we have the solution imported.
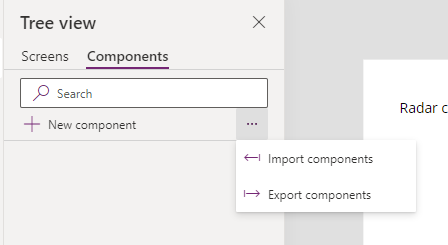
Add it to Canvas-App
In a canvas app select "Somponents" > "Import component"
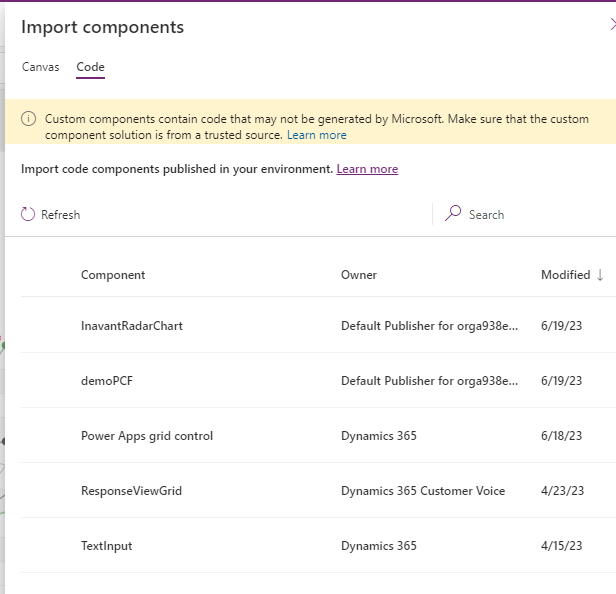
In "code" secction select the component.
Select "Insert" > "Code components" > your component
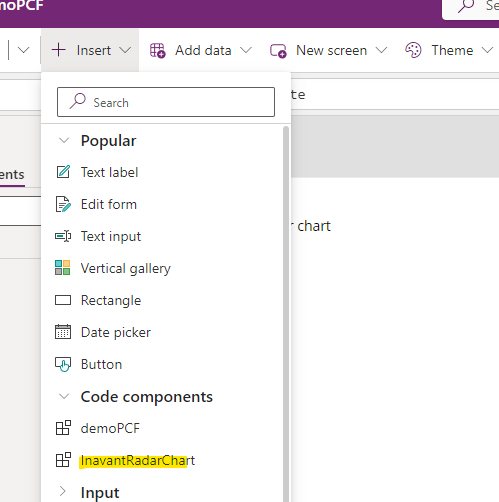
Configure the component and that it is.
Those are the steps to create and import a custom code component.